The cherry blossom, also known as "sakura" in Japan, is considered the national flower of Japan. It symbolizes beauty and the fragility of life. Cherry blossom season lasts from late March to mid-April, but if you wish they were around all year long, here's your chance to make your own!
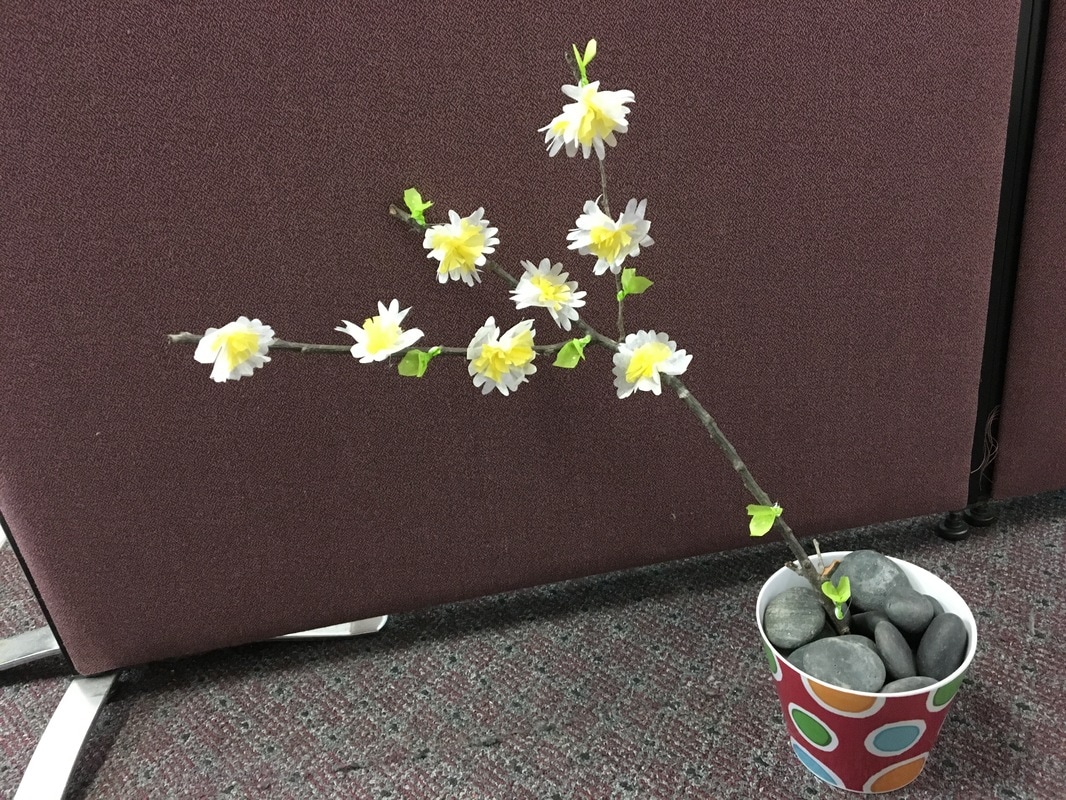
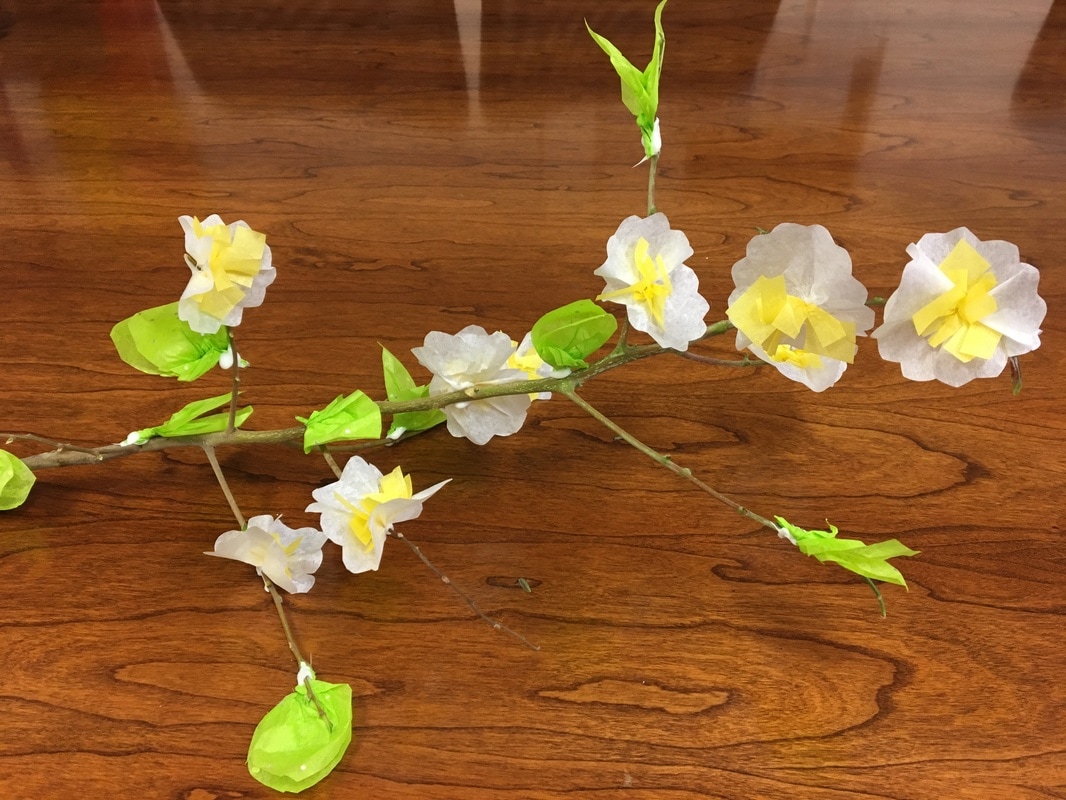
This is our DIY cherry blossom branch that our interns made. It adds a pop of color to the office with no watering necessary ;) It doesn't matter if you don't have pink tissue paper, the cherry blossoms will look nice with any color paper you might have!
Supplies:
- Tissue paper (3 colors, 1 must be green for the leaves)
- Tree branch
- Scissors
- Hot glue gun
Instructions
Step 1
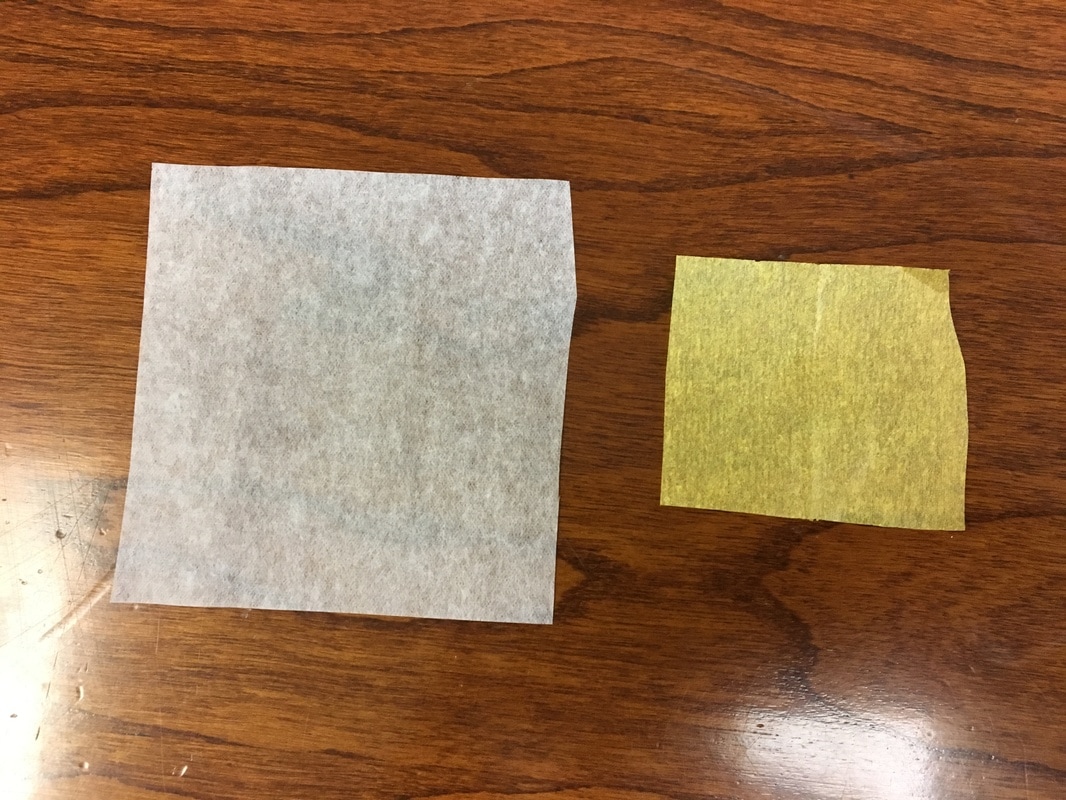
Cut out tissue paper into squares. Make sure one square is slightly smaller than the other. (Flower size and amount depend on branch size).
Cut out tissue paper into squares. Make sure one square is slightly smaller than the other. (Flower size and amount depend on branch size).
Step 2
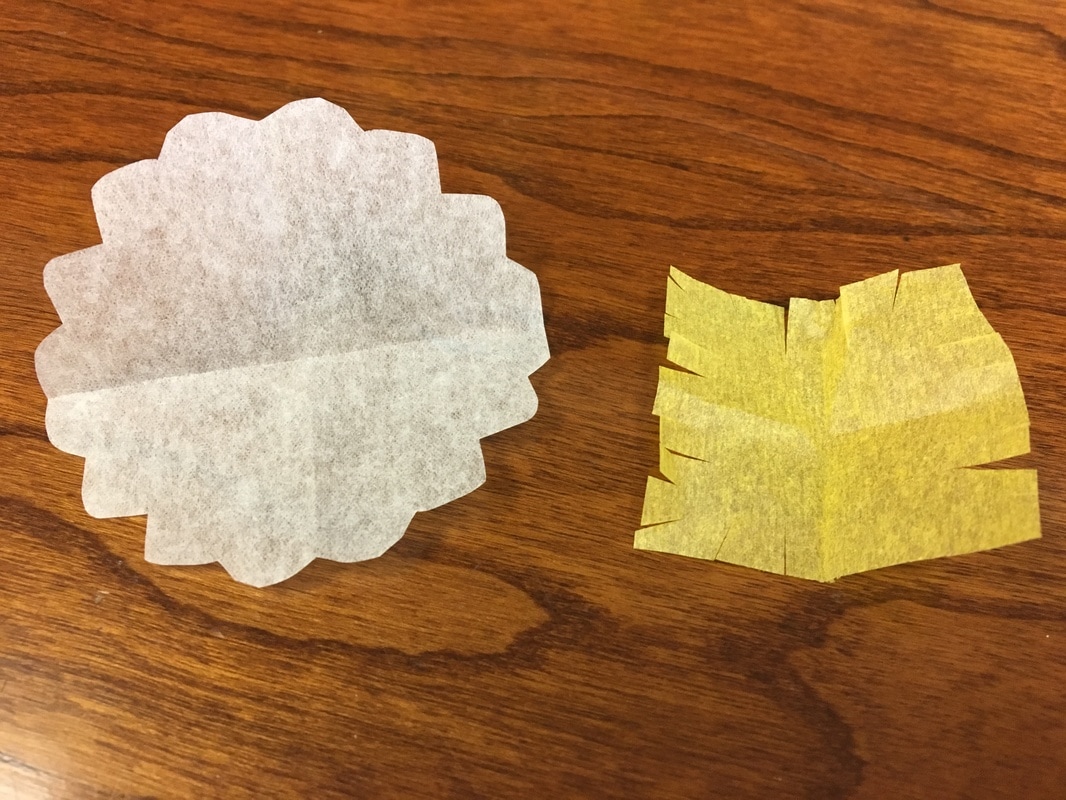
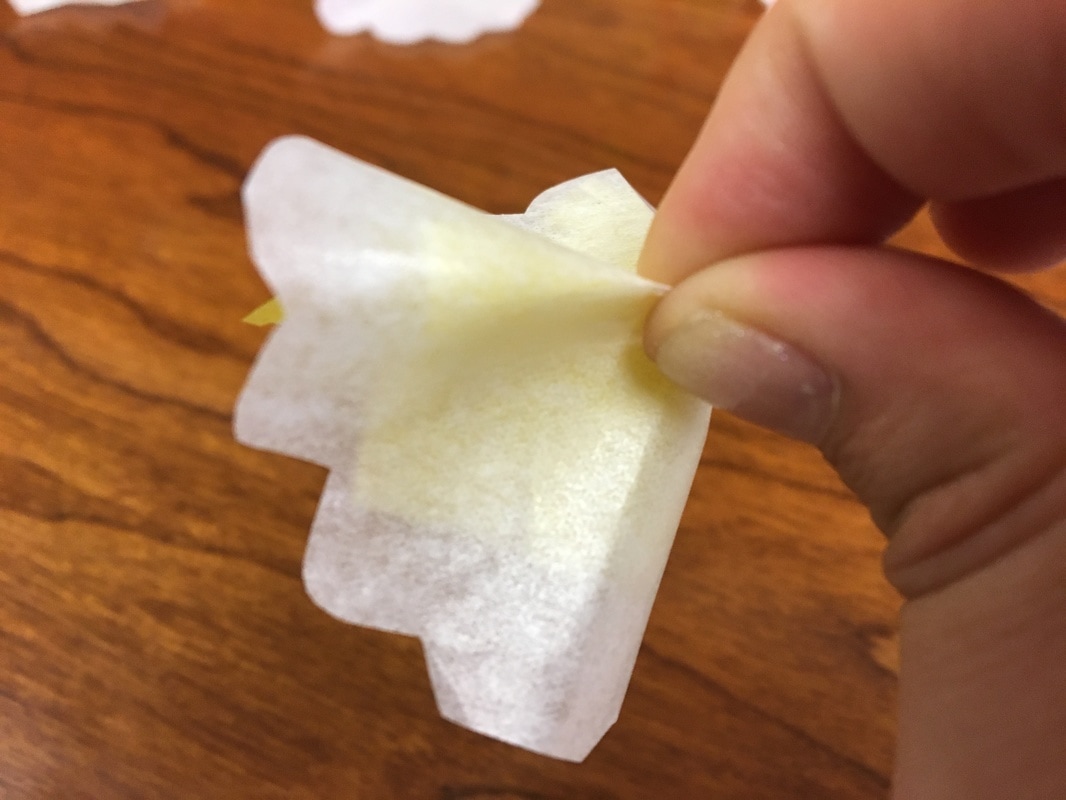
With the larger square, cut out a flower shape. With the smaller square, cut small slits along the side about halfway through.
With the larger square, cut out a flower shape. With the smaller square, cut small slits along the side about halfway through.
Step 3
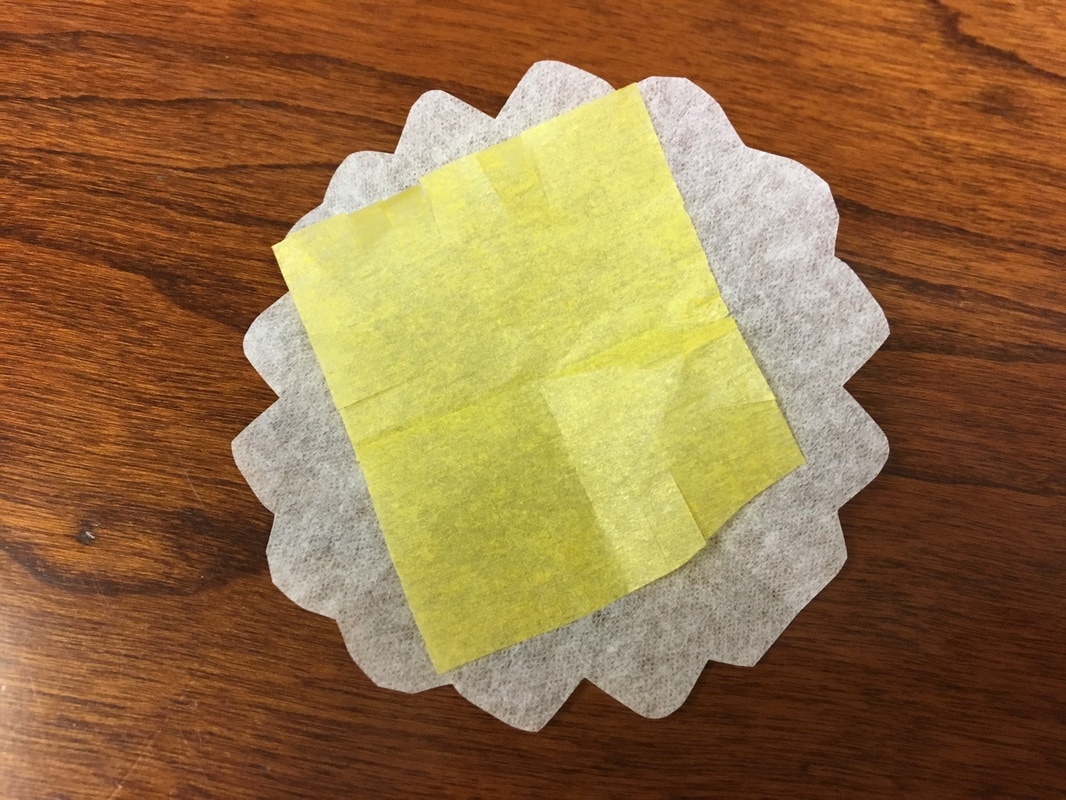
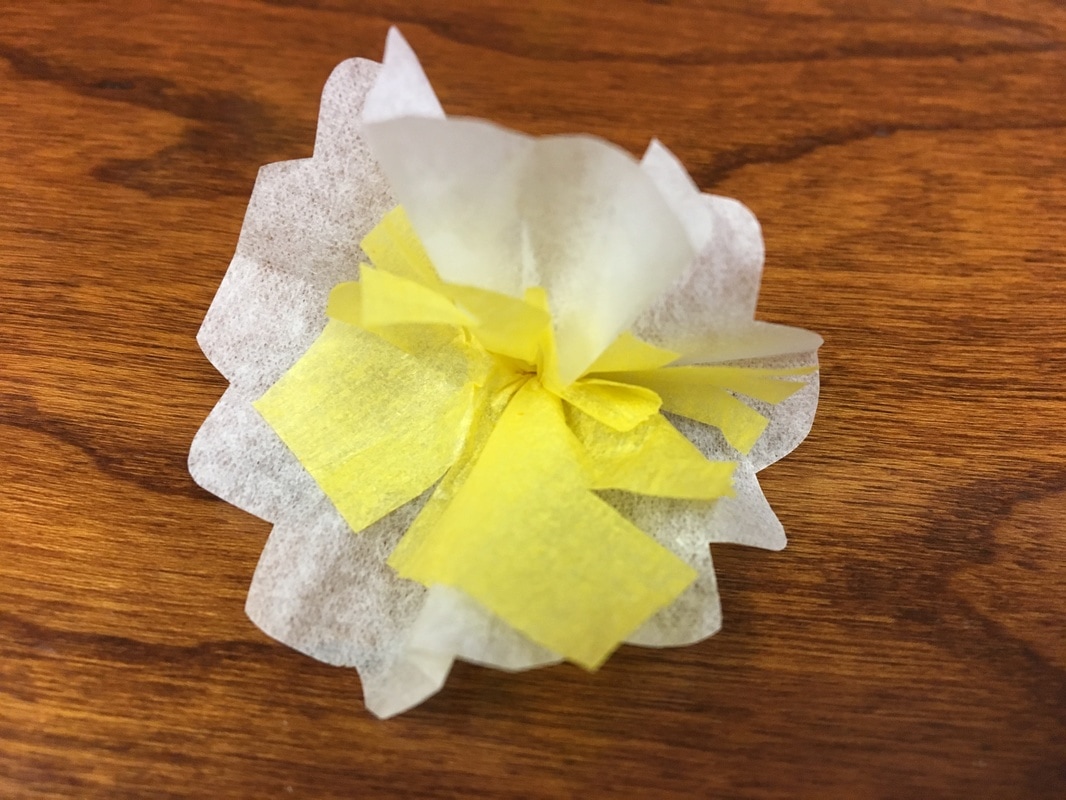
Put the small square on top of the large square and pinch the back center of it and twist.
Put the small square on top of the large square and pinch the back center of it and twist.
Step 4
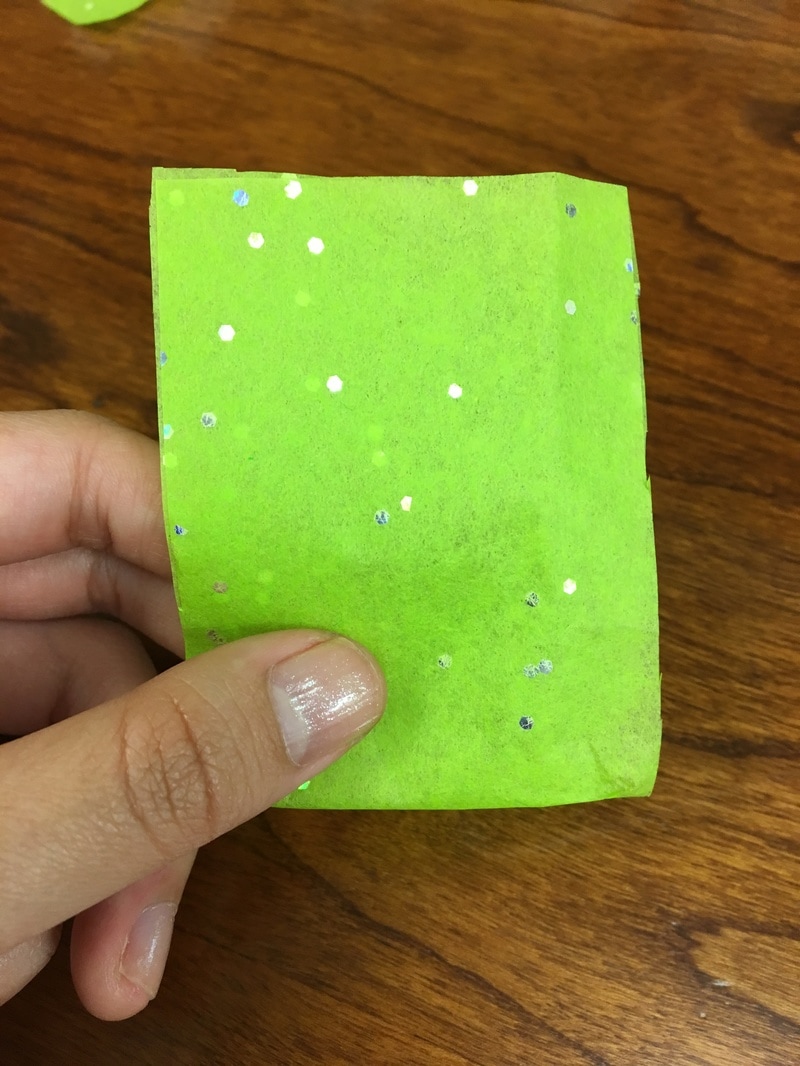
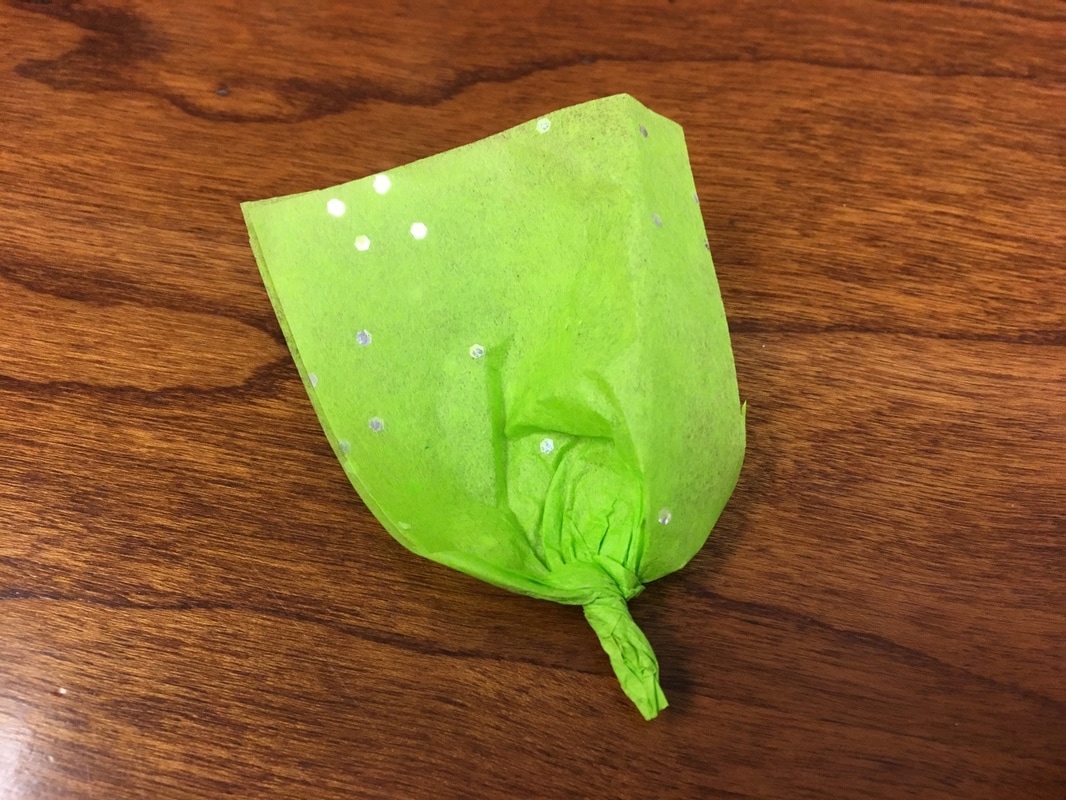
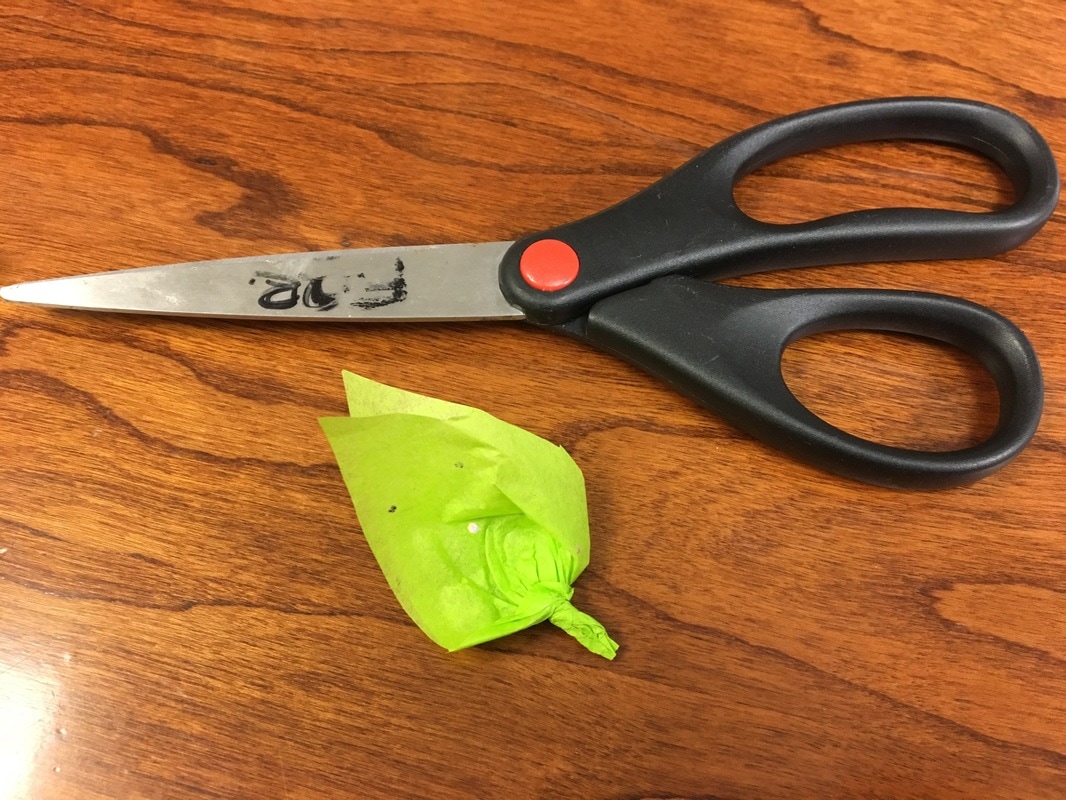
Fold the rectangular piece in half (hamburger style) and pinch and twist the closed end. Cut out a leaf shape using scissors.
Fold the rectangular piece in half (hamburger style) and pinch and twist the closed end. Cut out a leaf shape using scissors.
Step 5
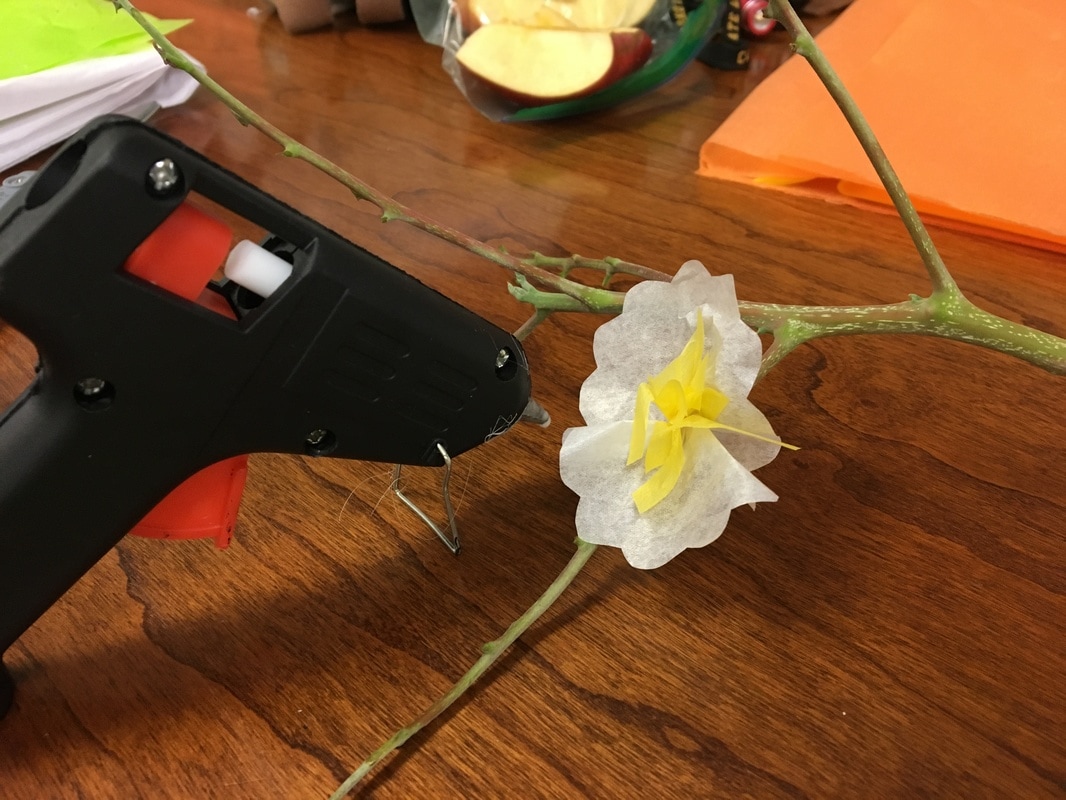
Glue flowers and leaves onto the branch using a hot glue gun.
Glue flowers and leaves onto the branch using a hot glue gun.
Step 6
All done!
All done!


 RSS Feed
